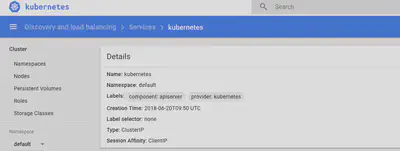
Kubernetes Dashboard with kops

Following is an example of simplest possible setup of dashboard add-on for kops. By default we utilize the official yaml configuration which already works fabulously with basic user-authentication. That should be perfect for a very small or one person team. Generally though, it is very smart to double check security of the monitoring service itself and extend upon it.
- First run the yaml configuration of kops dashboard add-on:
kubectl create -f <a href="https://raw.githubusercontent.com/kubernetes/kops/master/addons/kubernetes-dashboard/v1.8.3.yaml">https://raw.githubusercontent.com/kubernetes/kops/master/addons/kubernetes-dashboard/v1.8.3.yaml</a> - Go to URL that got created:To get the URL:
kubectl cluster-info | grep master
Example URL:https://api-yoururl.amazonaws.com/ui - To get the login token that you will be asked on the URL:
kubectl get secret $(kubectl get serviceaccount dashboard -o jsonpath="{.secrets[0].name}") -o jsonpath="{.data.token}" | base64 --decode - Default login credentials you can get by using following kops command in terminal:
Username: admin
Password: (using command)kops get secrets kube --type secret -oplaintext - But for now majority of the panels will be not viewable or available for edit etc. To fix this we will create a service account with access to default namespace and do a clusterrolebinding. However for future, it is good to have as much things as possible on NOT default namespace.
#To create a service account with access to default namespace
kubectl create serviceaccount dashboard -n default
#To create a cluster role bind. Connecting service account and cluster level access
kubectl create clusterrolebinding dashboard-admin -n default \ --clusterrole=cluster-admin \ --serviceaccount=default:dashboard